|
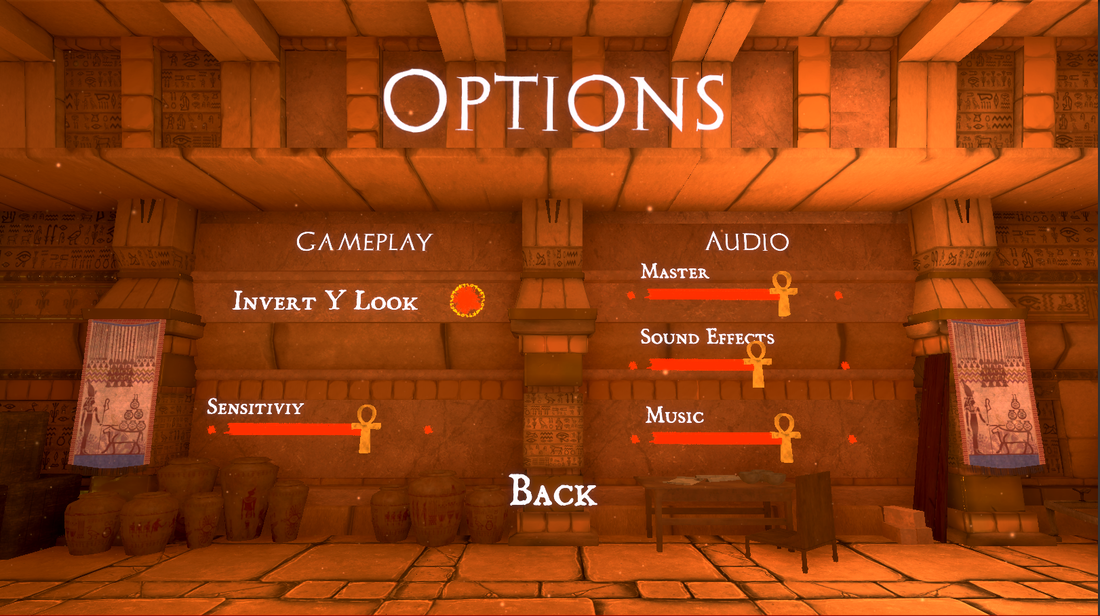
Up until now our menus have been default, font and all.
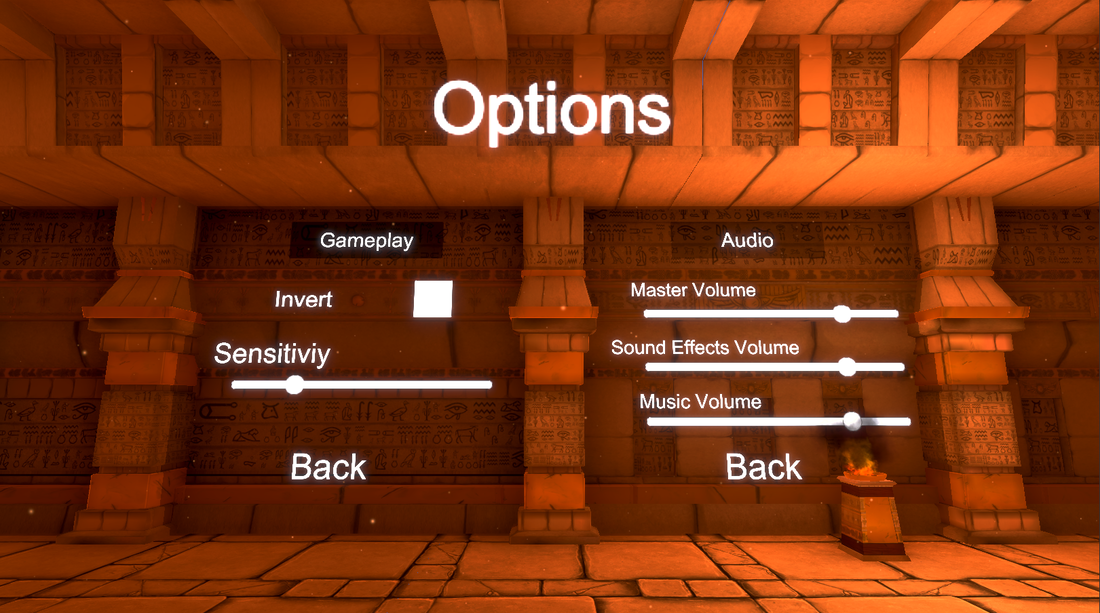
The background hieroglyphic texture on the walls was distracting from the UI, so I replaced it with a less noisy stone texture. I spent like 3 hours trying to get the sliders looking non-default. the issue was using an image for the slider would stretch it out, rather than nicely 'adding more to the end.' I was trying to use the sliced sprite mode to fix this, because then it would avoid scaling the ends of the slider, right? Right? Nah. It ignored the middle of the slider, the bit that should have been getting scaled. Then it stretched out all the edges: 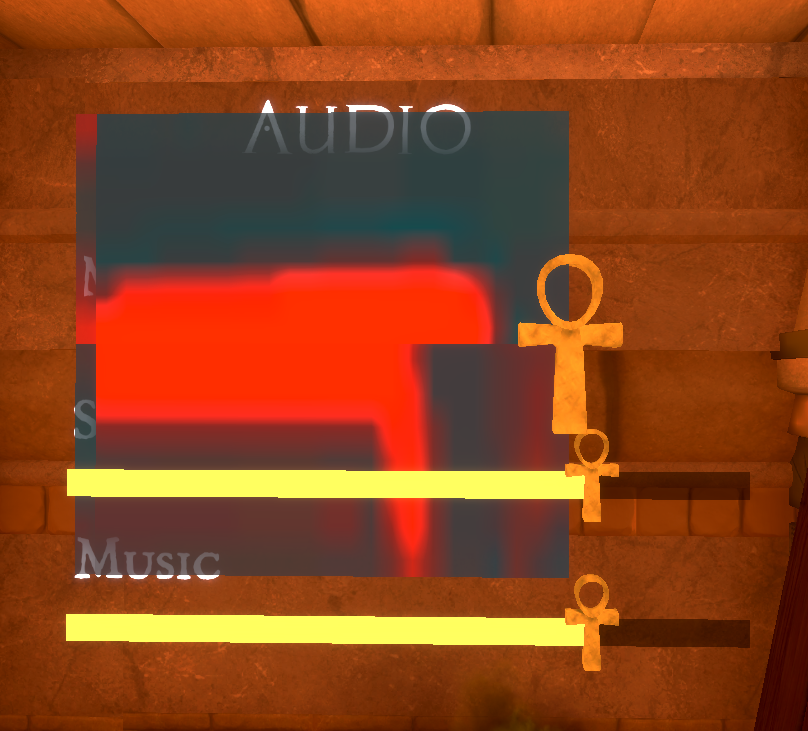 Perfect. That's Exactly what I wanted.
Turns out the way to go was to just set the slider to 'filled'. this would make a hard edge on the right of the slider, but that's covered up by an ankh anyways.
0 Comments
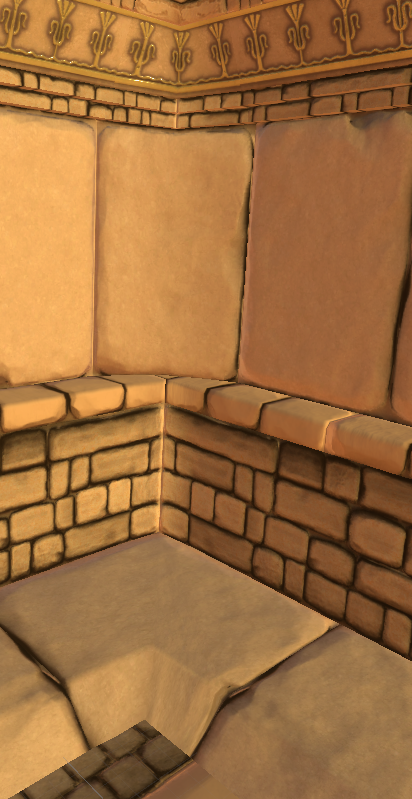
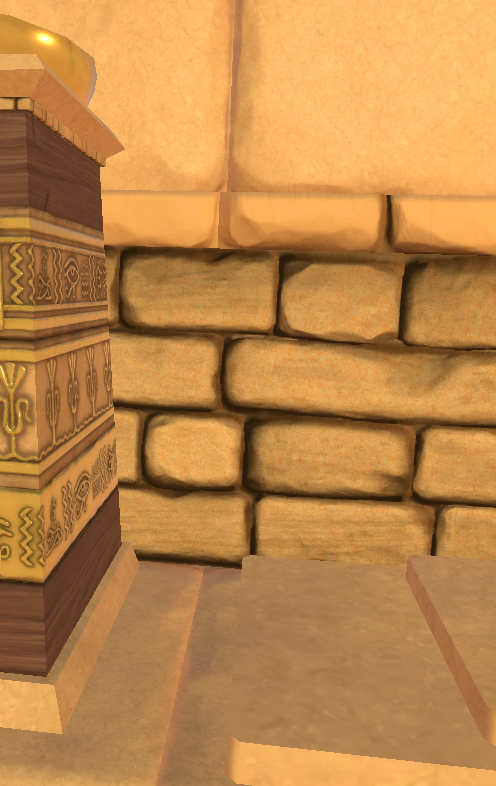
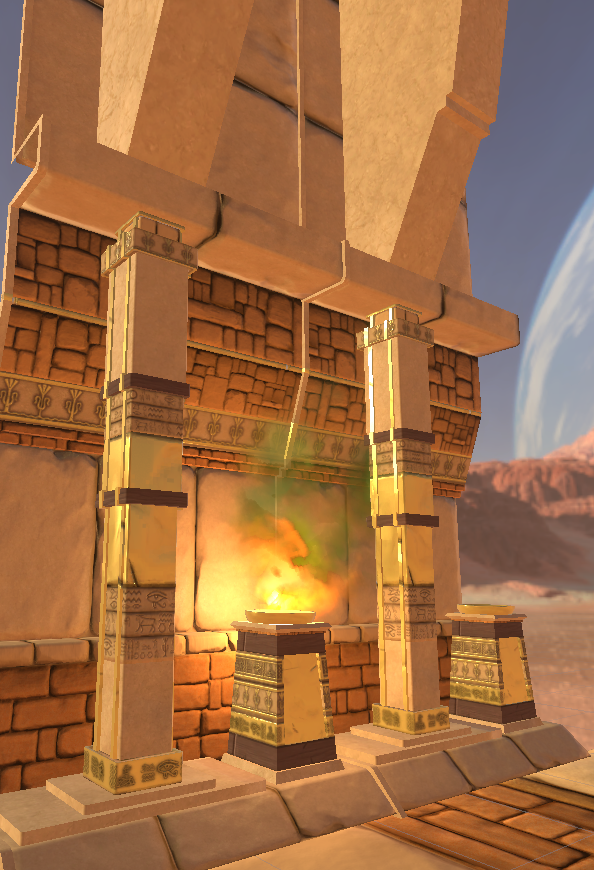
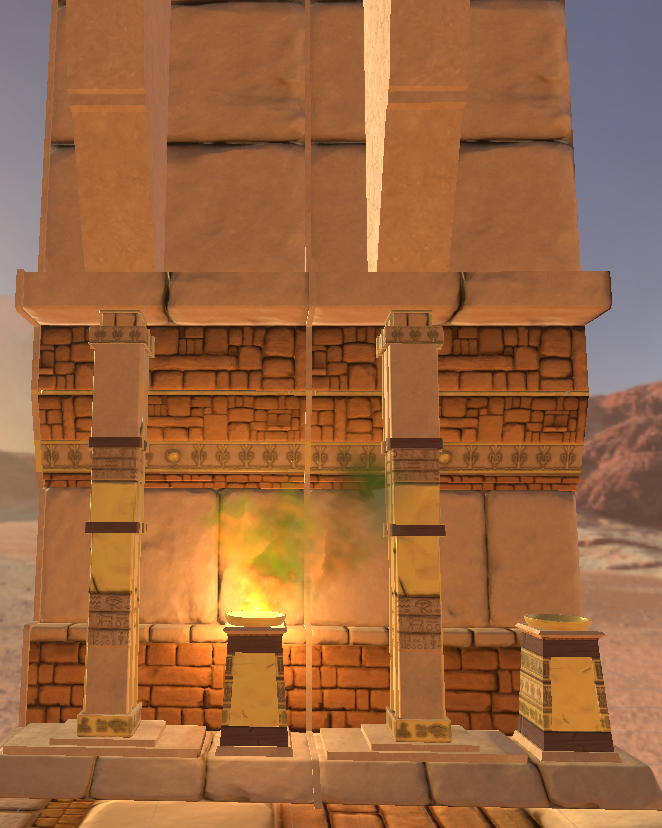
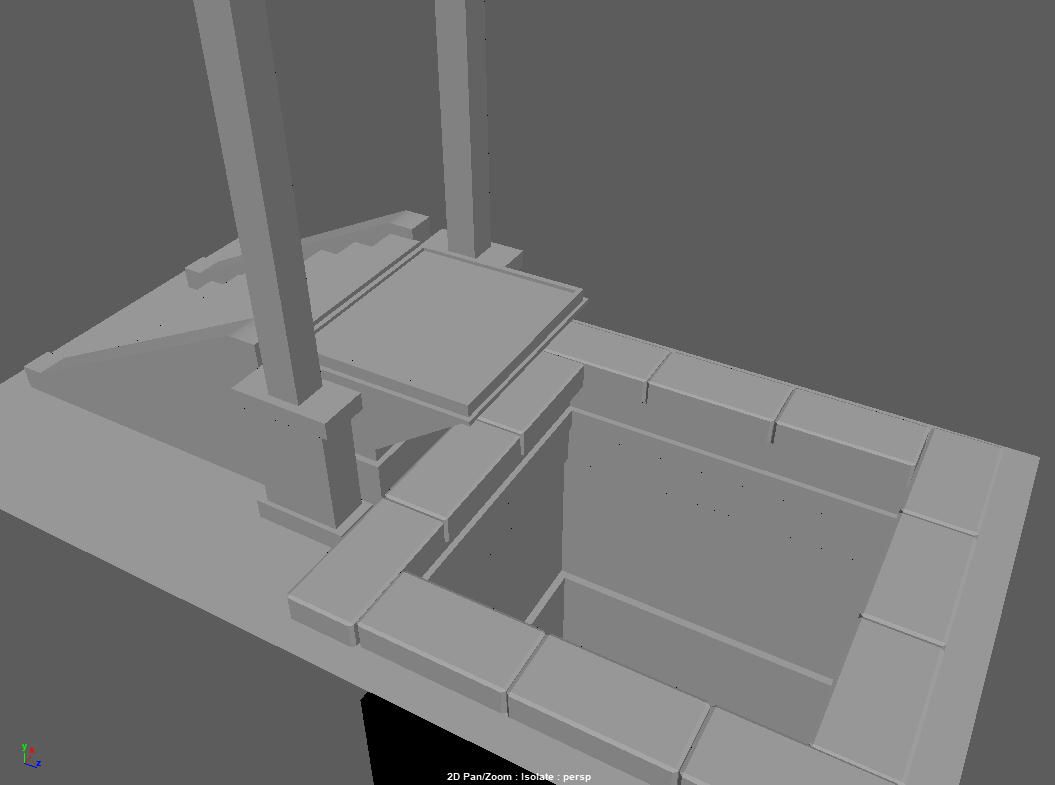
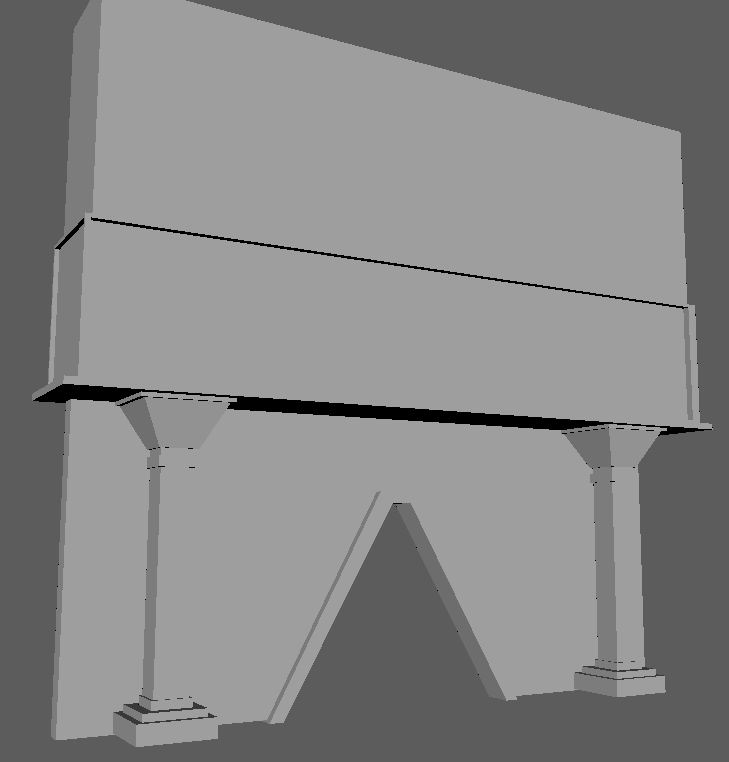
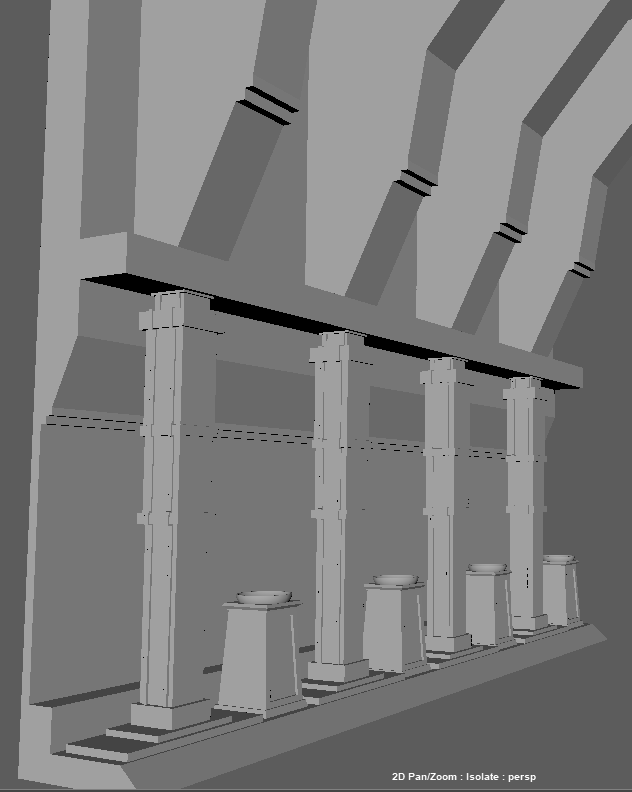
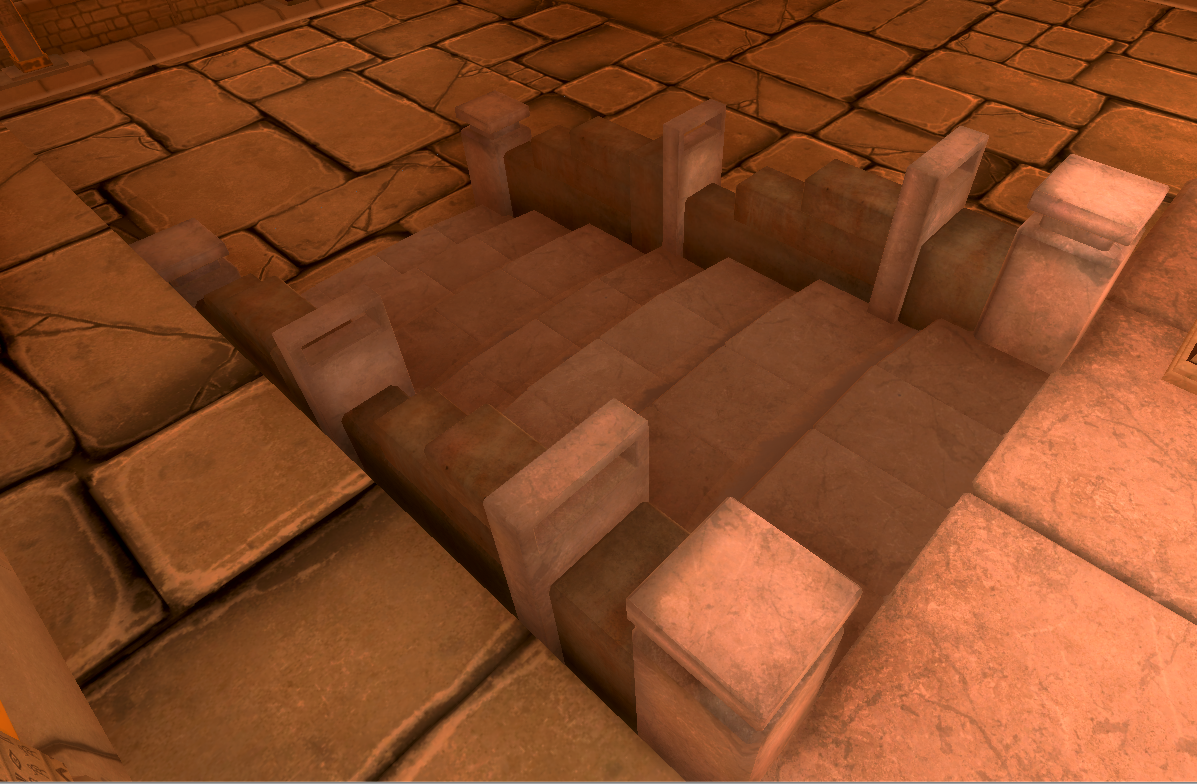 We received feedback that the new stairs I had made looked out of place. It was suggested that the problem could be the bevelled edges making soft outlines of stair bricks, while the bricks in the walls had a much harsher, almost comic book like outline. I'd actually never intended for this harsh outline look to be our style, so set to work on fixing it. The main issue was ambient occlusion in the brick trimsheet. Toning it down in Photoshop calmed the outlines down alot. I also manually fixed some baking issues there by hand painting over some of the obvious holes. 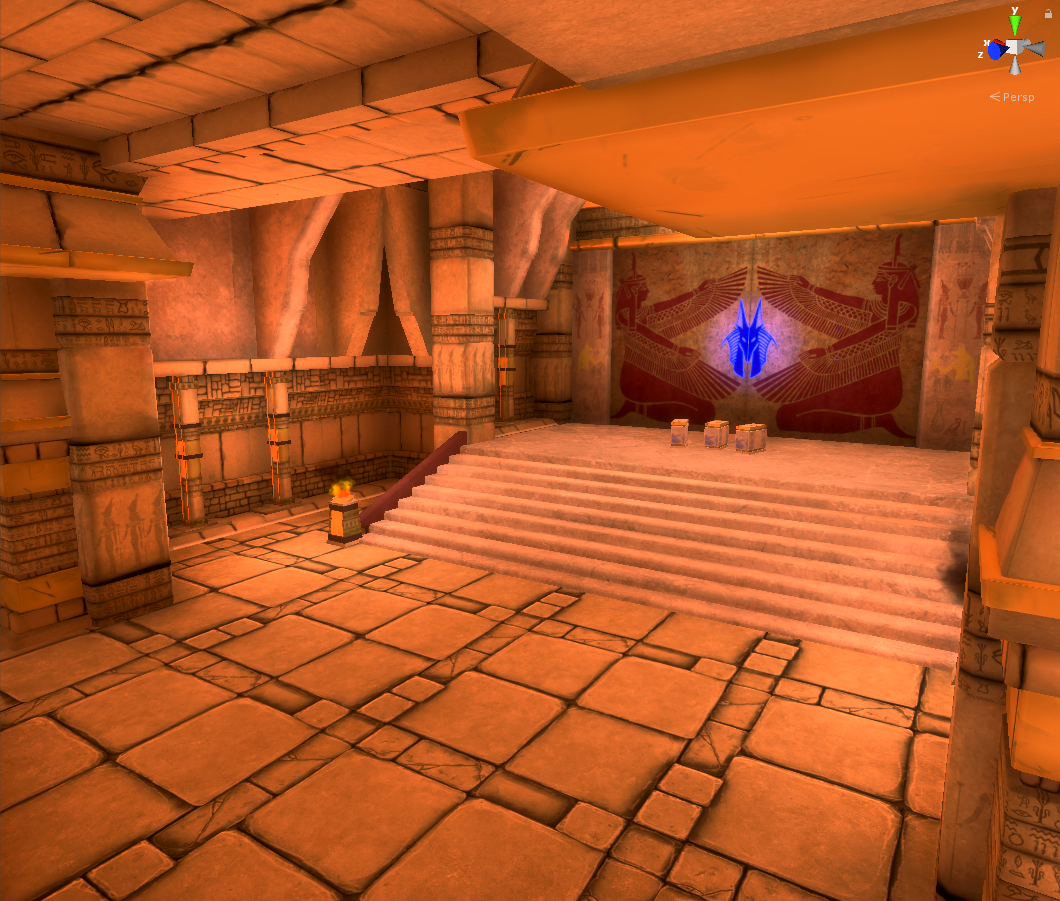 Before 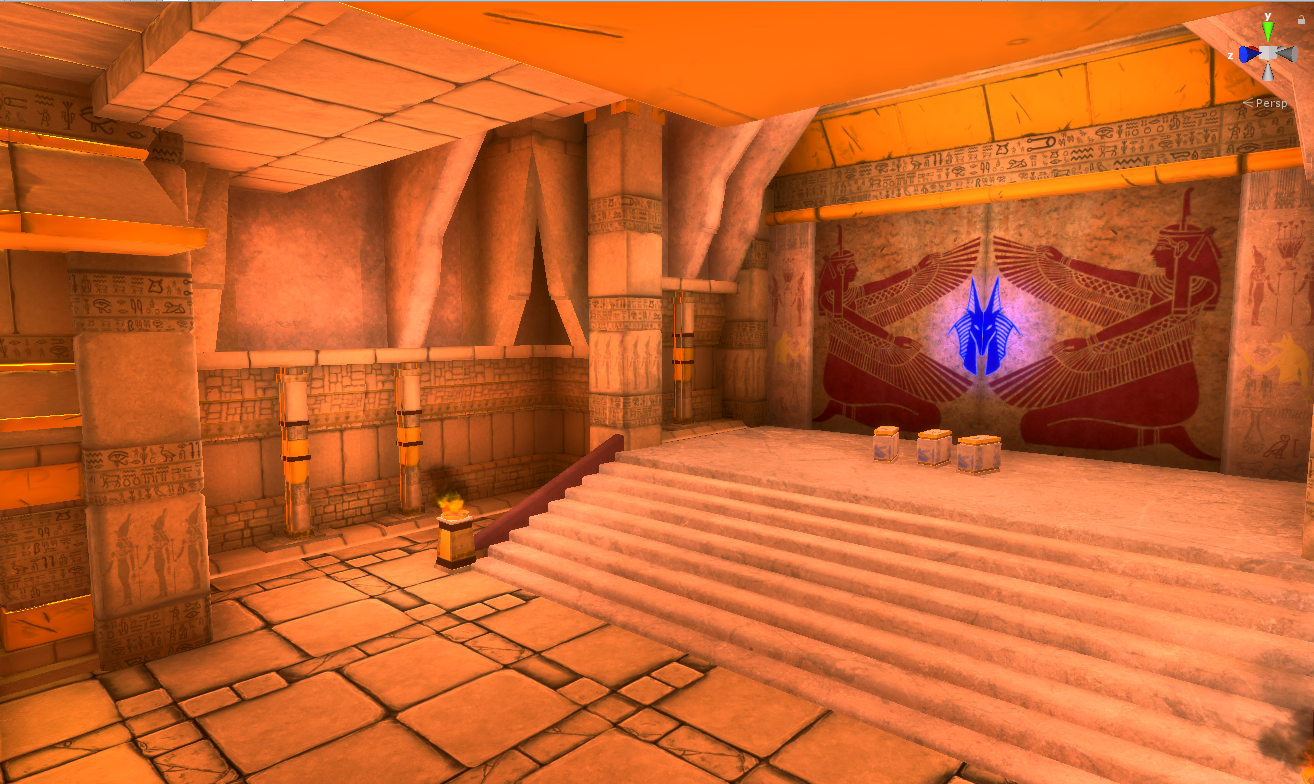 After I snapped together a room and slapped on some scene settings. 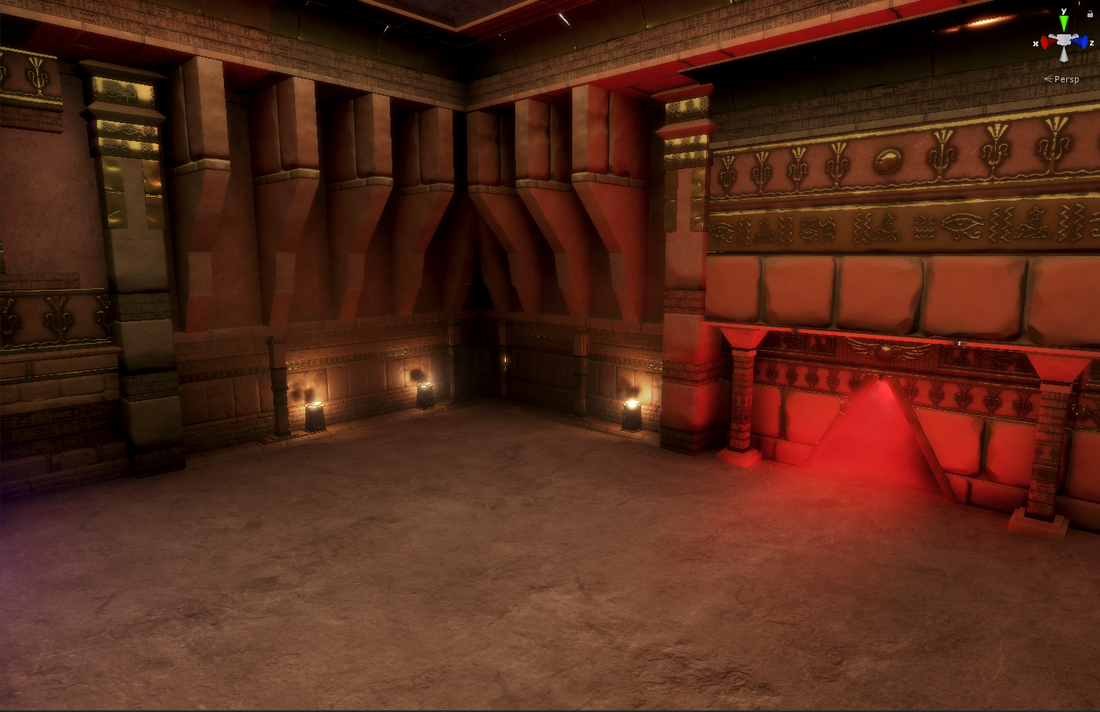 Volumetric fog enhances the effect of lights. Bloom.... Blooms. 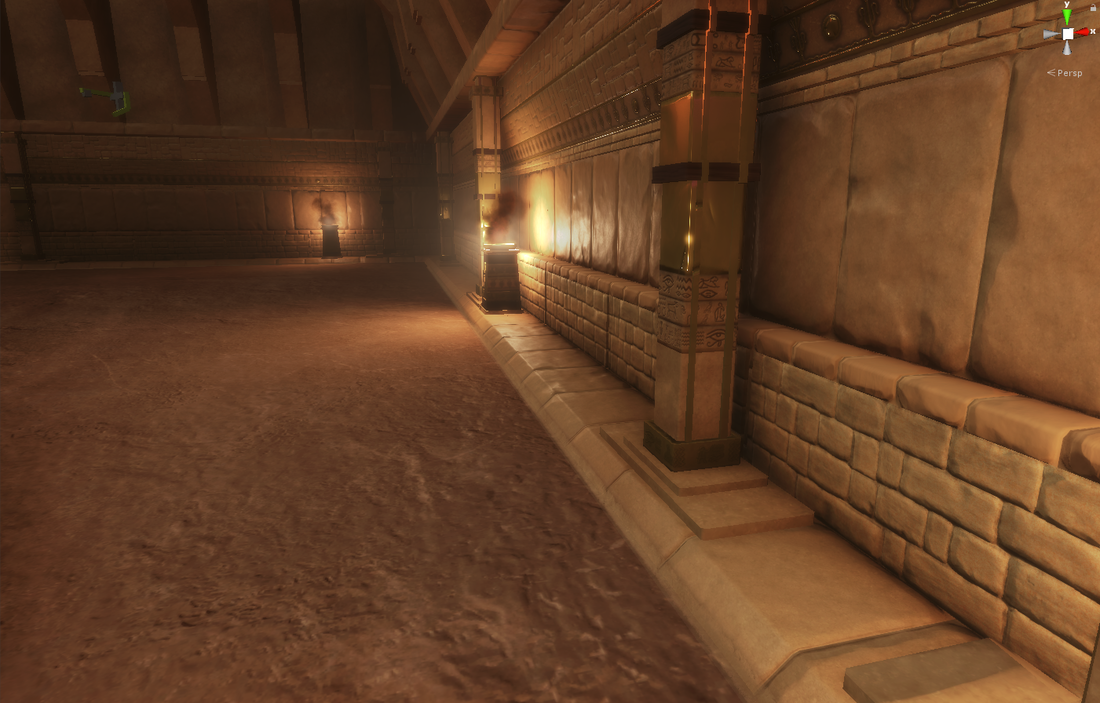 A reflection probe tries to convince you that we know what's behind your back. We do. But the shiny thing doesn't. 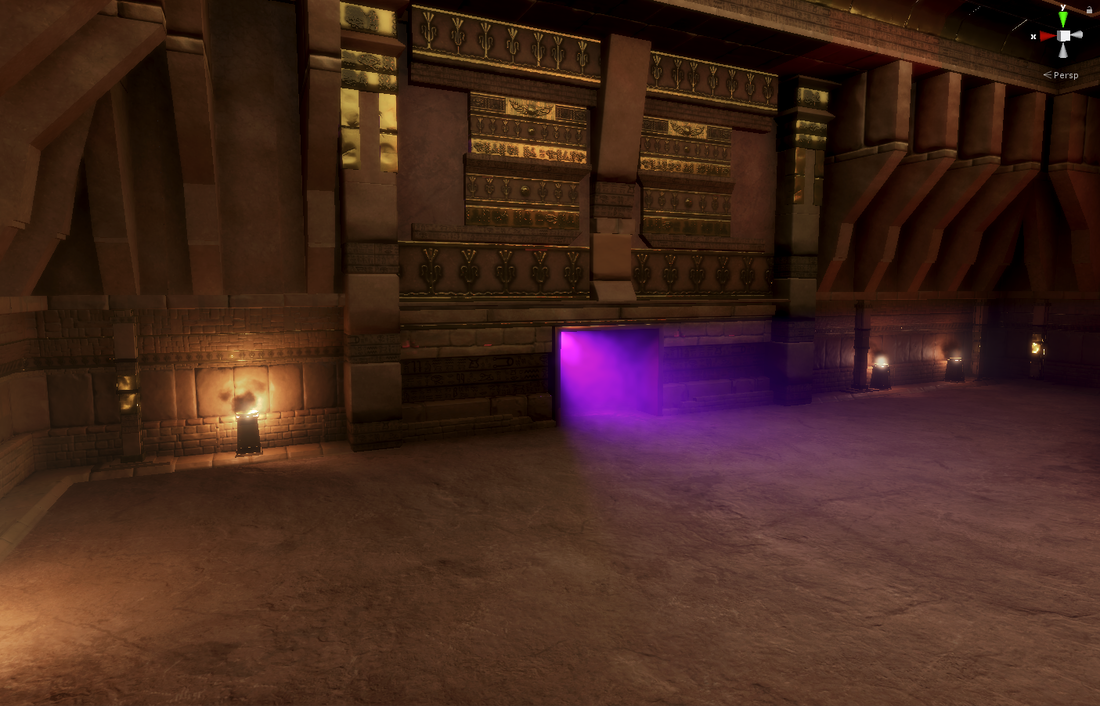 Ignore the not interesting T-posed textured individual placed internally. The texture definitely isn't the face of a tutor. 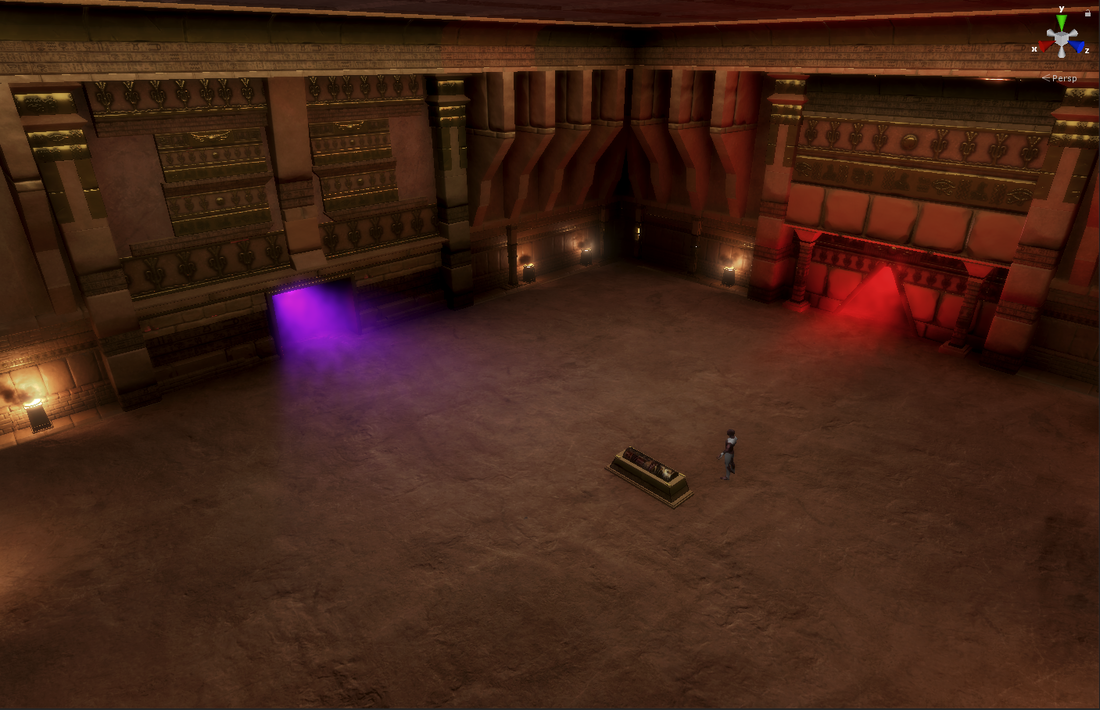 I definitely used it because 'it was the only texture with skin.' Don't ask why it was in our project in the first place. 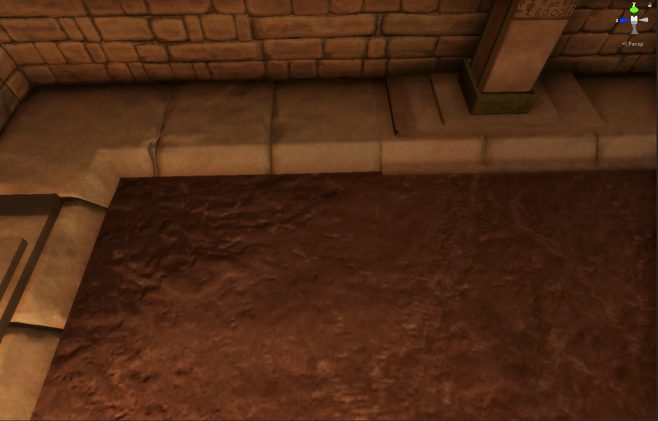 I meshed taped the seam between wall and ground. You can see what a difference this makes, the corner is not mesh taped. Mesh tape is hard to alliterate with. so I'll just say mesh tape some more. Mesh tape, Mesh tape Mesh tape. MeshTape Meshtape = new MeshTape(Mesh.tape); Meshtape.TapeMesh(Mesh); Mesh tape doesn't actually require any code. 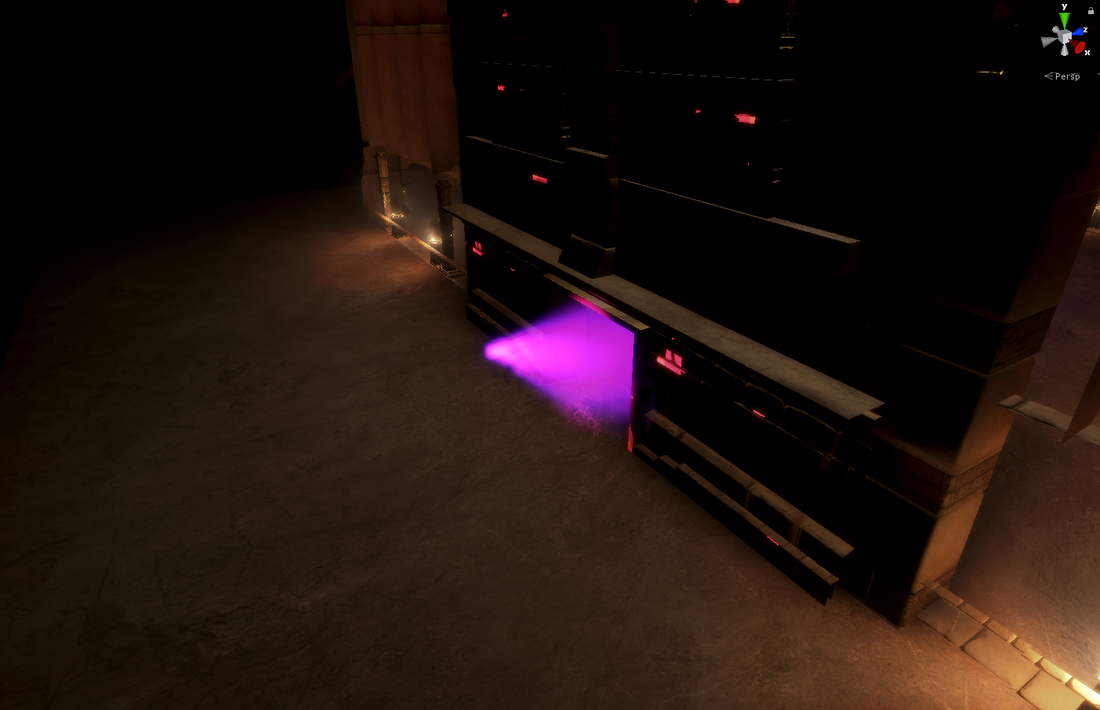 Yeah the Jig's up. you're onto us once you go through a door. Well you're onto me I guess, since I put that light there.
Don't worry, this will be solved next devlog :p I'm definitely not holding back stuff that I've already done for the next one, and if I was, it definitively isn't because this one is a week late. Warranty void if devlog is a week late. Warranty void if you received a warranty. I don't actually give those out. I mean you didn't even buy anything from me so why- Also I don't think software has that kind of warranty? 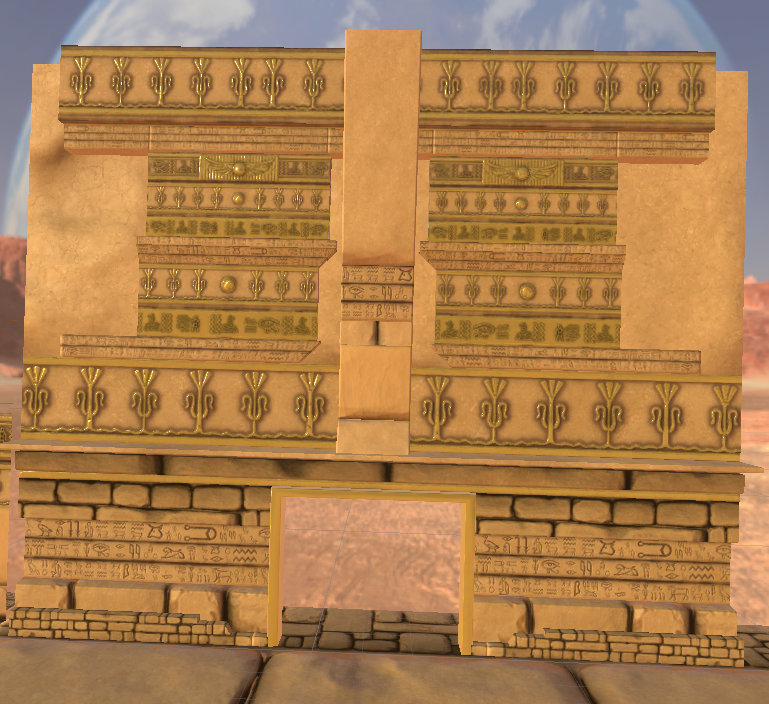 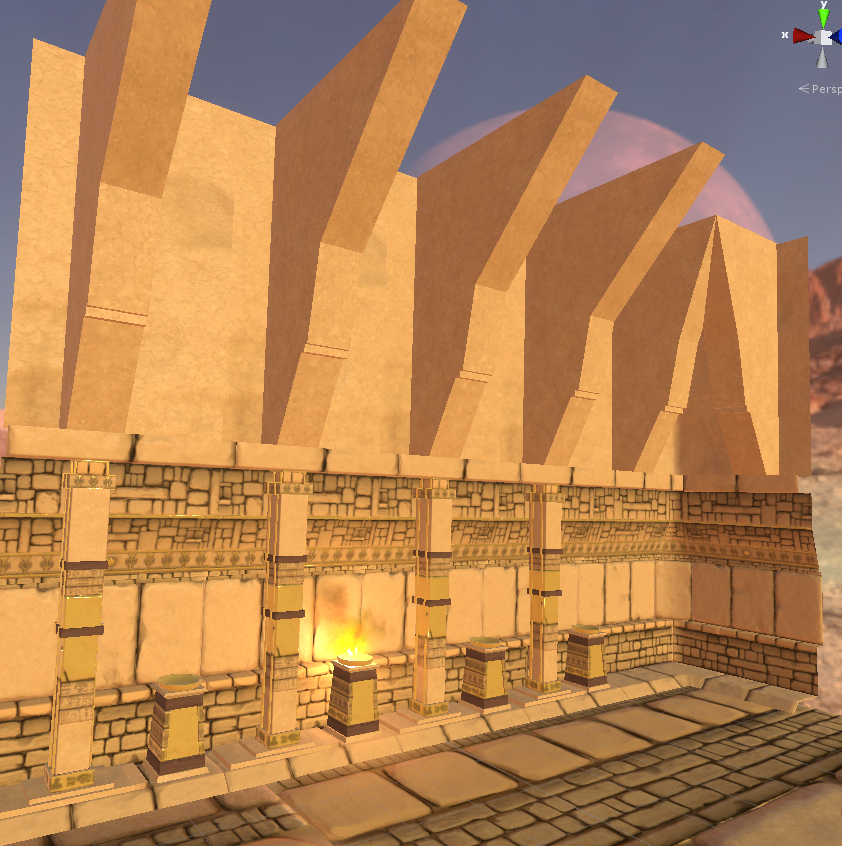 Now that I've got a few bits and bobs, they gotta stick together somehow. I started with the walls, and placed a strip along the entire seam to hide it. Didn't look good. Turns out, you can snap vertices together and along as the texture connects properly there won't be a seam.
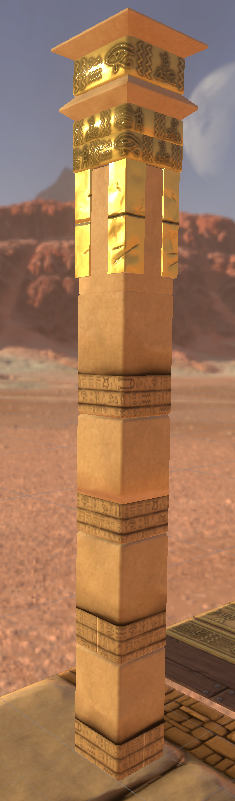
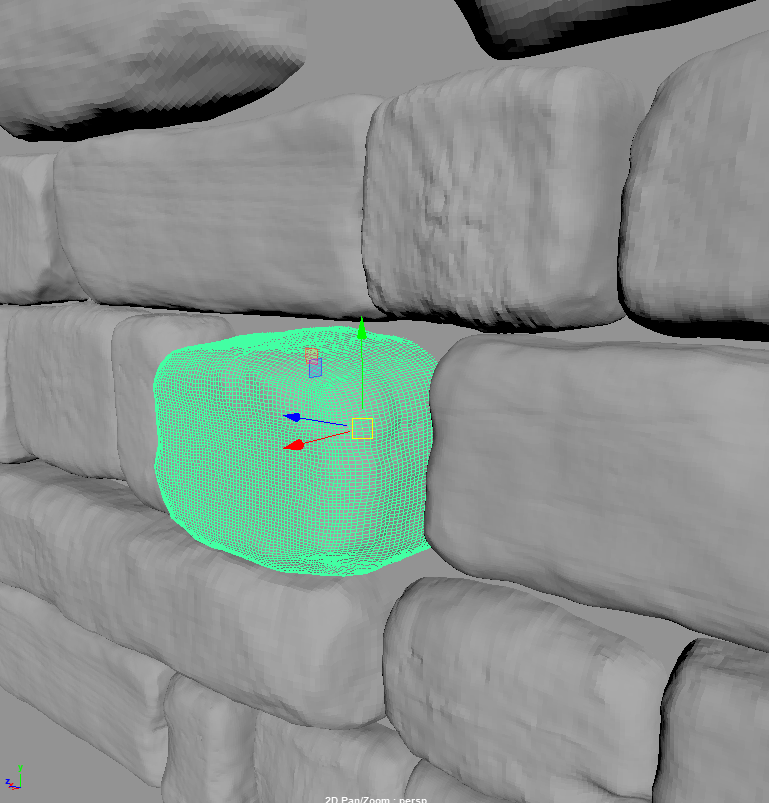
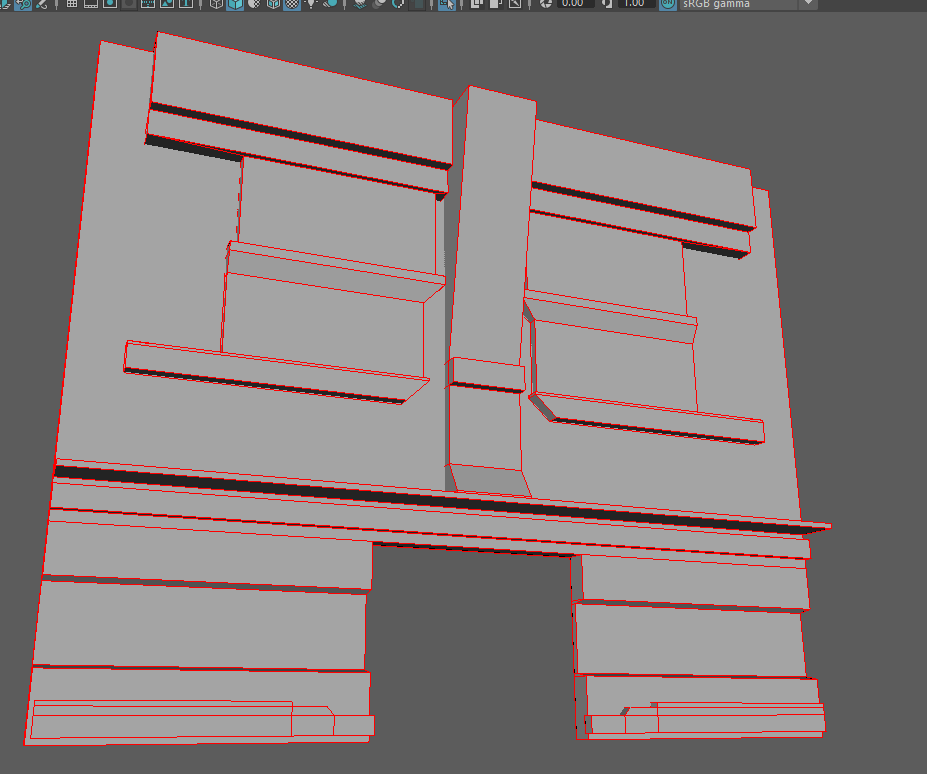
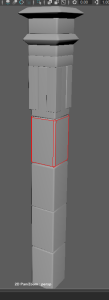
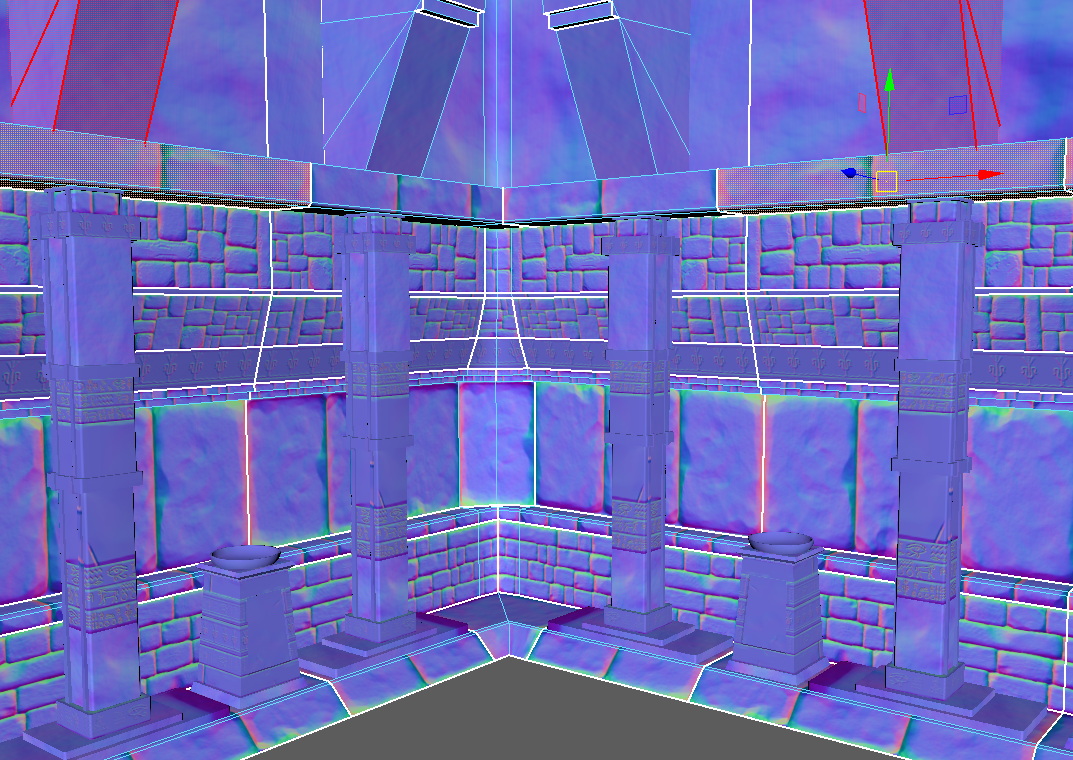 Been using Instances. This means editing one section will keep the changes on all the other sections. That's super helpful for trying to match up textures. 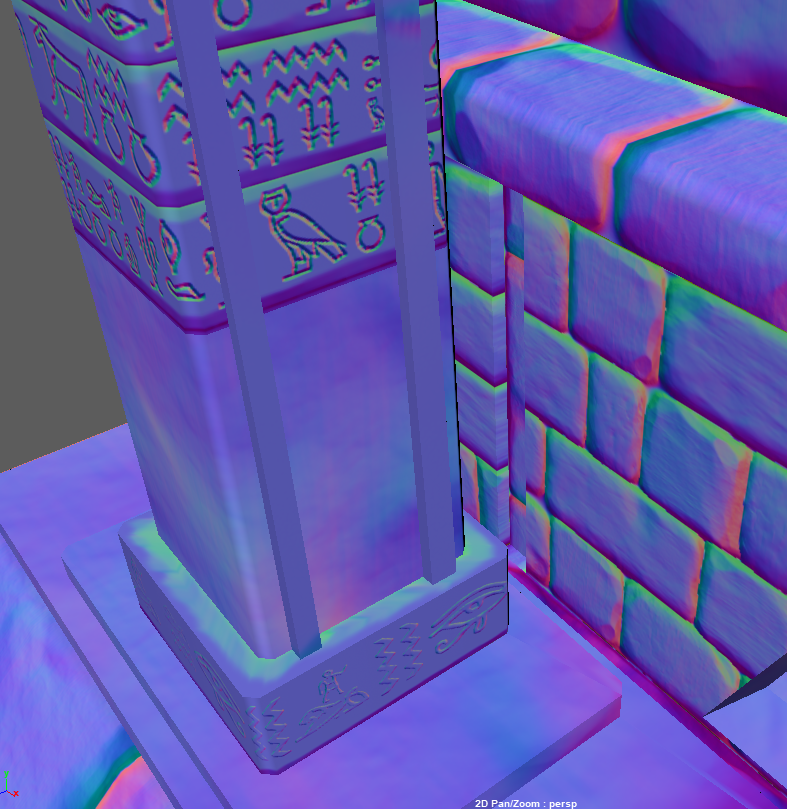 I did need a seam at some point on this brick section, but didn't want to have to many seams along the edge of the object. That makes it obvious that they are separate pieces. So I snuck this little crevice in behind the pillar. Ignorable InformationSeams require stitches, which the engine does not provide in-house. this makes sense, given that its an engine and not a loom. As such, fabric is shipped in via horse and carriage, and occasionally pneumatic tubes. This issue could be avoided if people understood the significant importance of gamelooms alongside game engines. Appropriate loomage also reduces the amount of cheetodust emissions in workstations, due to the doriotocount being more applicable.
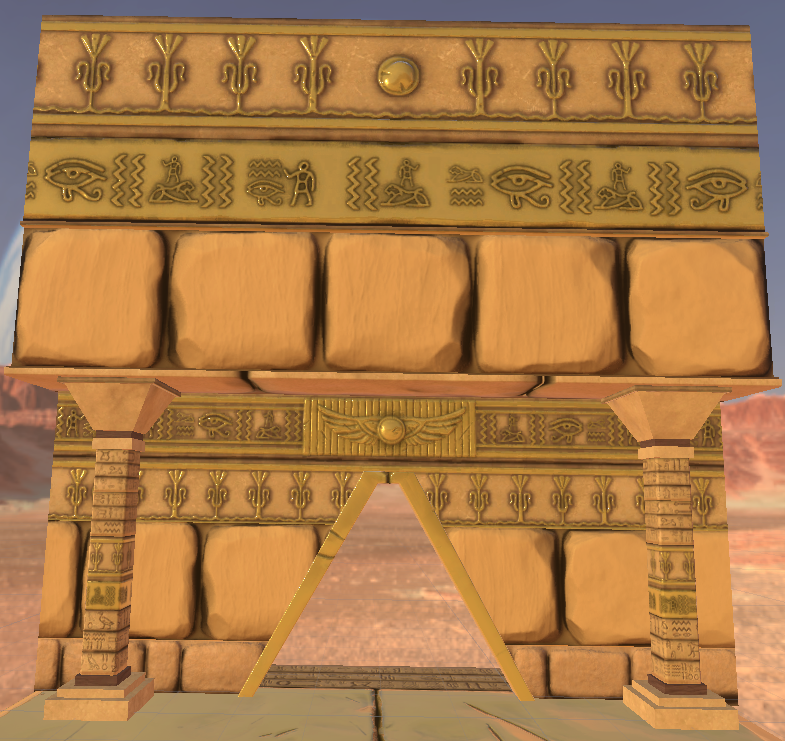 The last two weeks have been all about texturing. Myself and "Drunken Doom Dude" each worked on a trimsheet.
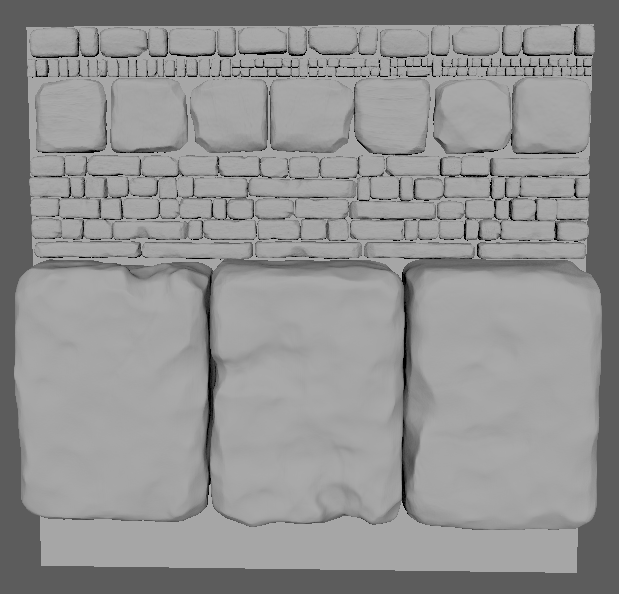
Ignorable "information"The high dorito brickable information was roasted onto a square pallete (squallate) which was capable of housing the edgeyness brickables create. positional forces hold the brickables in place, preventing an unleashment of bricktation. Because we can't use traditional mortar as an anti Briktation positional force, instead the squallate is forced into a 2-D environment which cannot facilitate such force in extra dimensions. 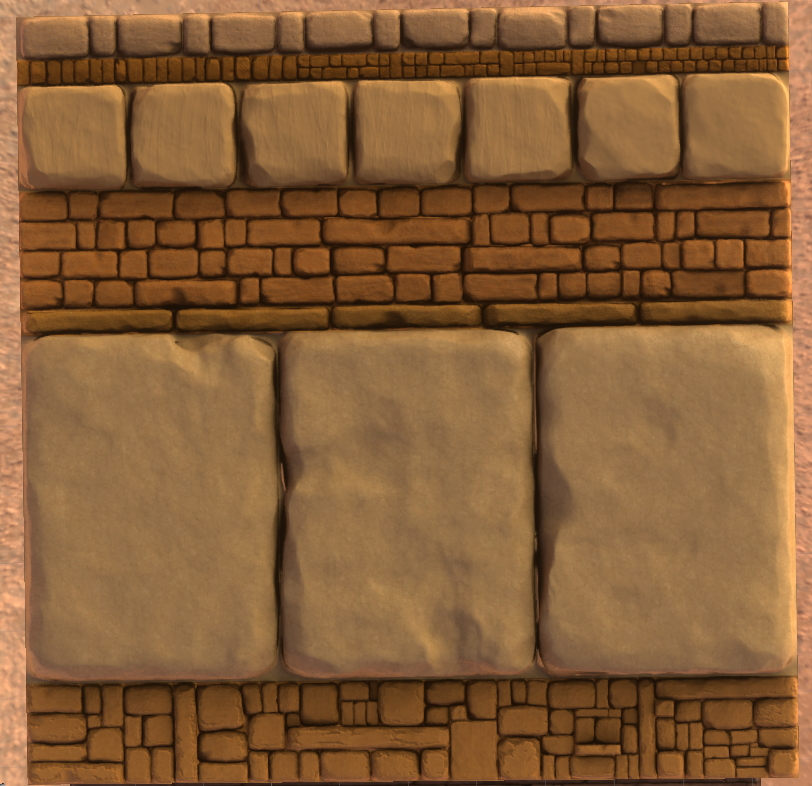 Above is how the end result looks in unity, using HDRP. Below are the highpoly bricks in maya.
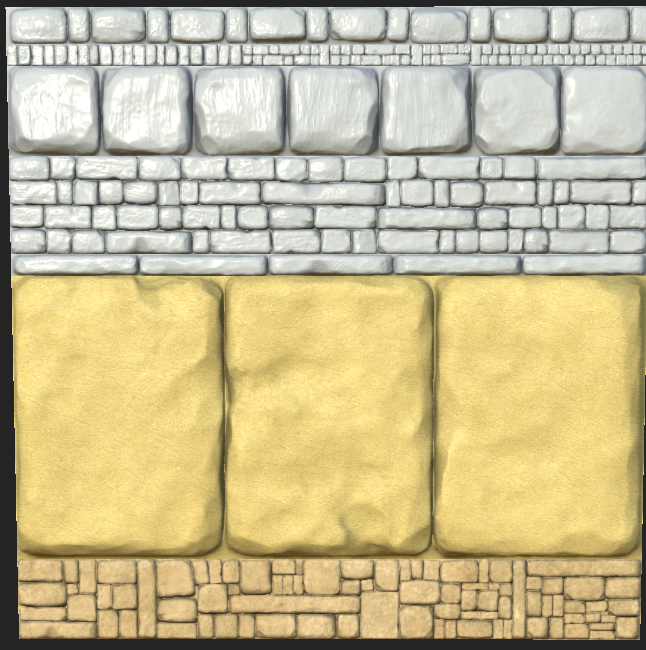
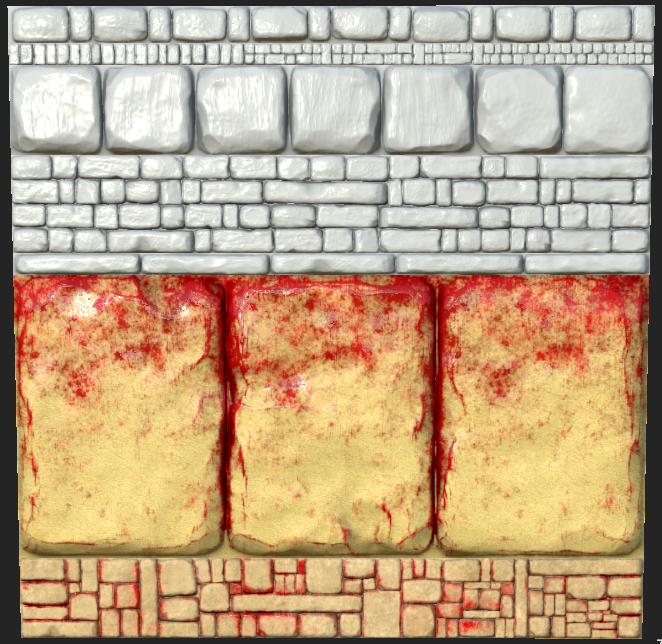
These are some early versions of the texture, as seen in substance painter. I also wanted to try some versions where the bricks would 'bleed', given that blood is in the title of the game.
 Having to write in layman's and techno mumble is kinda tricky. Regardless of what you understood, please leave some thoughts in a comment :)
Timescale: |

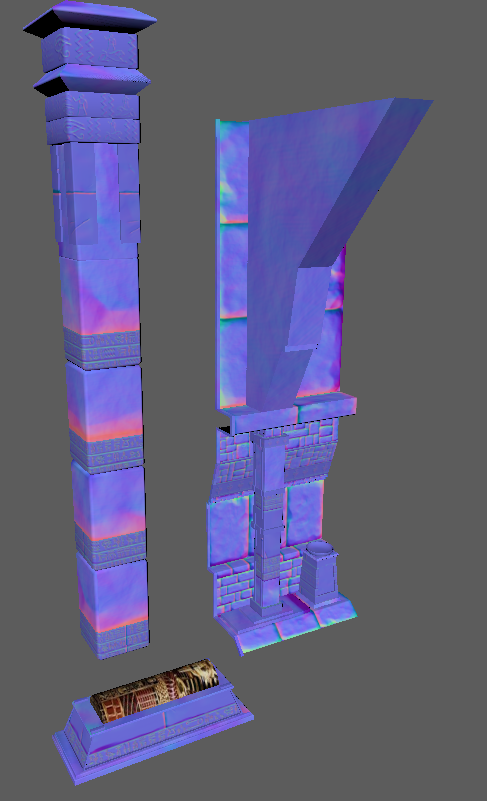

 Crypts  Interior | 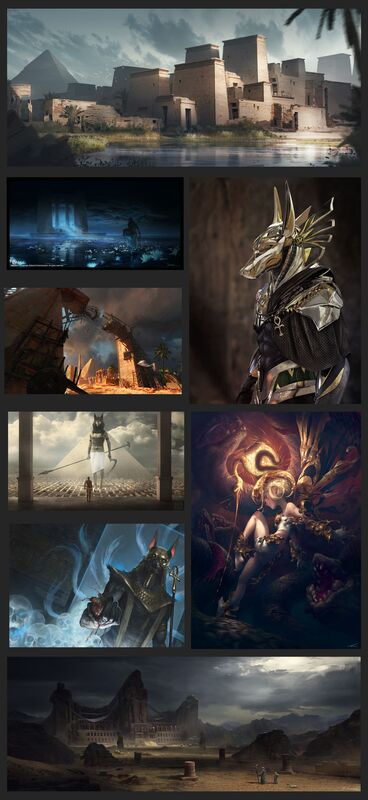 Colour 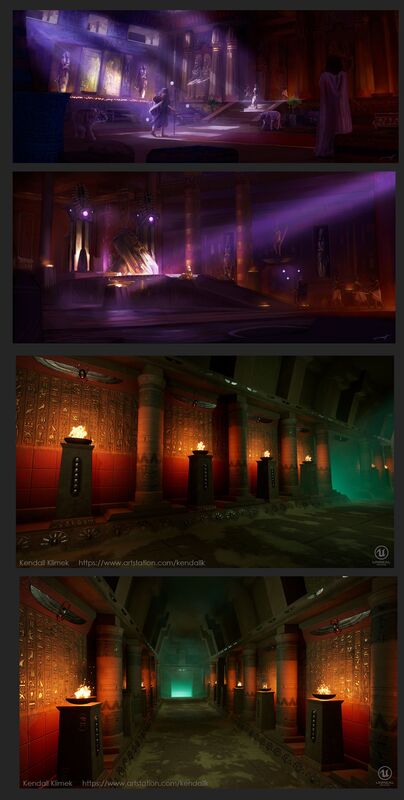 Alt-Colour / Lighting |
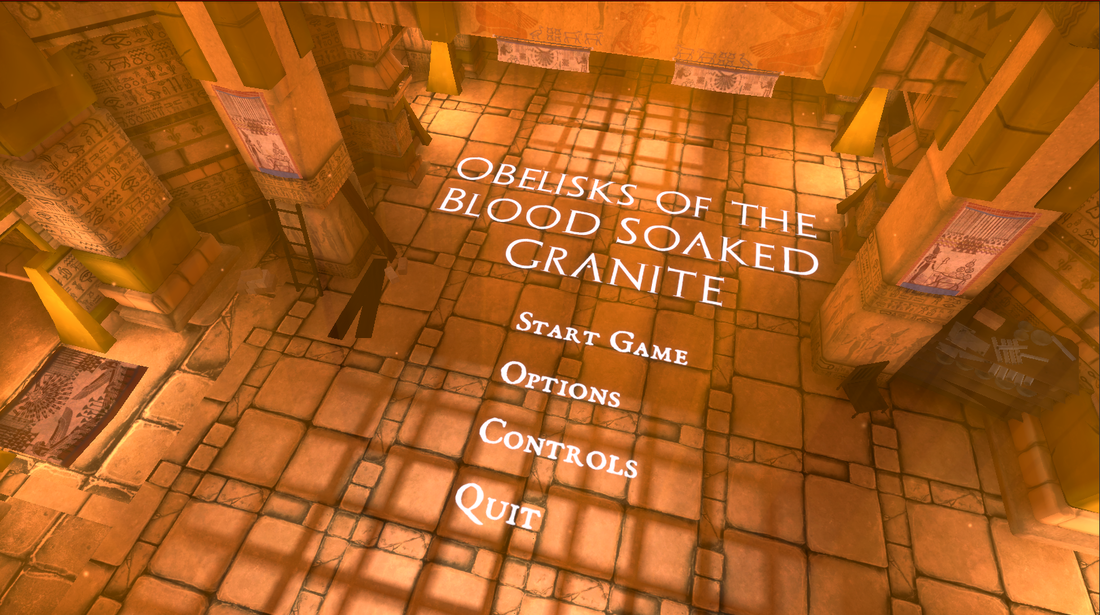
So what's this game about? I think this trailer mock-up will sum it all up:
Please leave your thoughts/comments below!
Author
Currently in a Game Development course, Writing Devlogs most Fridays.
Links
Archives
November 2019
October 2019
August 2019
June 2019
May 2019
April 2019
March 2019
Categories
All
Clone
Friend Jam
Misc
Obelisks Of The Blood Soaked Granite
 RSS Feed
